
Most american companies know that a well designed display stand can make the difference between blending in and attracting valuable leads at events. Yet, over 60 percent of exhibitors struggle to align their branding with tight event regulations and space limits. Navigating these requirements is key for brands aiming to stand out on a crowded show floor. This step by step guide delivers practical insights to help you create a polished, customized display that captures attention and meets every professional standard.
Table of Contents
- Step 1: Assess Display Stand Requirements And Branding Goals
- Step 2: Select Materials And Stand Types To Suit Your Event
- Step 3: Design Custom Graphics And Submit Artwork Online
- Step 4: Review Proofs And Approve Final Display Visuals
- Step 5: Inspect And Assemble Your Customised Display Stand
Quick Summary
| Key Message | Explanation |
|---|---|
| 1. Assess event requirements thoroughly | Review dimensions, branding materials, and guidelines to ensure compliance and optimize design effectiveness. |
| 2. Choose materials and stand types wisely | Select lightweight or sturdy materials based on your event goals and desired brand image for maximum impact. |
| 3. Design graphics for clear communication | Create visually appealing graphics that meet resolution guidelines and convey your brand message effectively. |
| 4. Conduct thorough proof reviews | Carefully examine digital proofs for accuracy and alignment with your branding to avoid last-minute changes. |
| 5. Inspect and assemble with precision | Check all components against specifications during setup to ensure a professional and cohesive display appearance. |
Step 1: Assess Display Stand Requirements and Branding Goals
Successfully customizing display stands starts with a comprehensive assessment of your event objectives and branding strategy. This crucial first step determines how effectively your visual presentation will communicate your company’s message and attract potential clients or partners.
Begin by carefully reviewing the specific event guidelines. According to EWMA Conference, exhibition organizers often provide detailed specifications about stand dimensions, height restrictions, and permissible branding materials. These technical parameters are not just bureaucratic requirements but strategic constraints that will shape your design approach. European Society of Endocrinology recommends documenting these specifications meticulously to avoid potential last minute redesigns or compliance issues.
Your assessment should include a clear inventory of your branding elements such as logos, color schemes, messaging, and visual assets. Evaluate how these components will translate onto your display stand and which design techniques will maximize their impact. Create a preliminary sketch or digital mockup that demonstrates how your brand identity will be represented within the spatial and regulatory constraints of the event venue. This preparatory work ensures your display stand becomes a powerful visual narrative that instantly communicates your professional identity and value proposition.
Pro Tip: Always request a digital proof or physical prototype before the final production to validate that your design meets both event requirements and your branding standards.
Step 2: Select Materials and Stand Types to Suit Your Event
Choosing the right materials and stand configuration is pivotal in creating a memorable event presence that attracts attention and effectively communicates your brand message. This step transforms your display from a simple structure into a strategic marketing tool that engages potential clients and showcases your professional identity.
According to International Association of Amusement Parks and Attractions, material selection goes beyond aesthetic considerations and directly impacts your stand’s functionality and visual appeal. Consider lightweight aluminum frames for flexibility and portability or sturdy wooden structures for a more traditional professional look. European Association for Cardio-Thoracic Surgery recommends evaluating materials based on three critical factors: transportation ease, durability, and alignment with your brand image.
When selecting stand types, match your configuration to your specific event goals. Pop up displays work brilliantly for compact spaces and quick setup requirements, while modular stands offer tremendous flexibility for reconfiguring your layout across different events. Consider factors like booth size, audience interaction needs, and potential for future reuse. Your stand should not just display information but create an immersive environment that draws attendees into your brand story.
Pro Tip: Always request material samples and conduct a detailed site assessment before finalizing your stand design to ensure perfect fit and maximum visual impact.
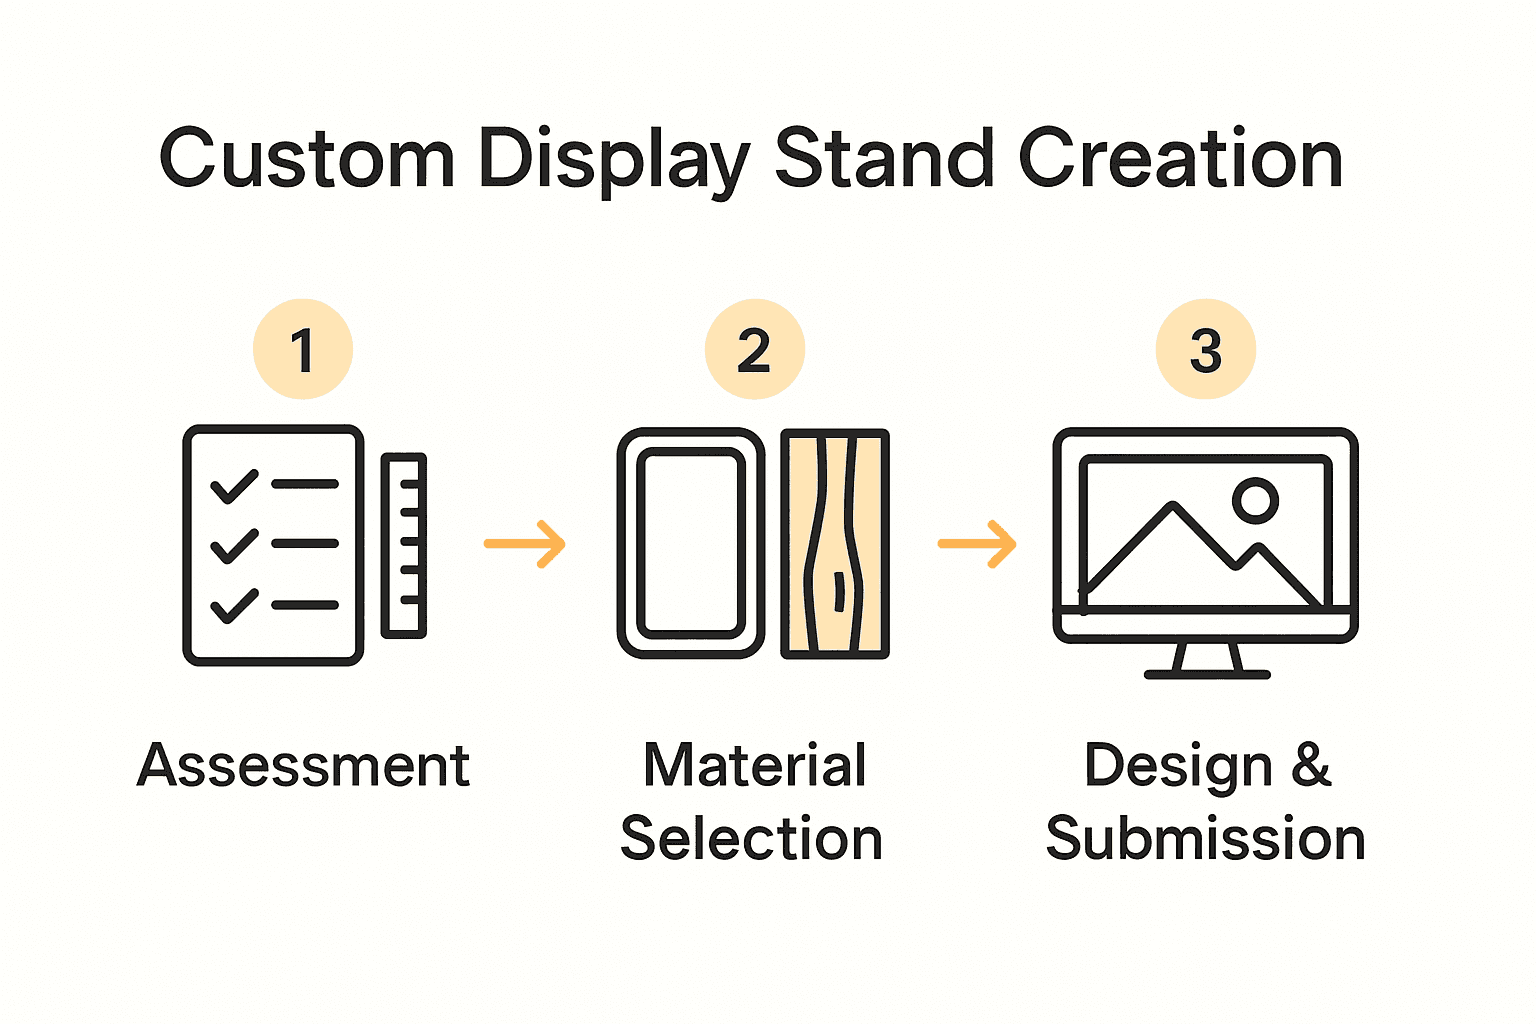
Step 3: Design Custom Graphics and Submit Artwork Online
Transforming your display stand into a compelling visual narrative requires strategic graphic design and precise digital submission. This critical step bridges your creative vision with professional event presentation standards, ensuring your brand stands out with crystal clear visual communication.
According to Urban Redevelopment Authority, successful graphic design begins with understanding specific event visual guidelines. Start by examining resolution requirements resolution requirements typically range between 300 dpi for print materials and high definition digital displays. European Society for Medical Oncology recommends creating vector graphics whenever possible to maintain crisp image quality across different display sizes and formats.
When preparing your artwork for online submission, focus on creating graphics that are not just visually striking but strategically designed to communicate your brand message instantly. Use high contrast color schemes, clear typography, and imagery that resonates with your target audience. Ensure all digital files are in universally accepted formats like PDF or AI and include bleeds and crop marks for precise printing. Pay special attention to color profiles compatibility to guarantee your graphics appear exactly as intended across different display systems.
Pro Tip: Always request a digital proof from the event organizers before final submission to verify color accuracy and graphic alignment with your intended brand presentation.
Step 4: Review Proofs and Approve Final Display Visuals
The final stage of creating an impactful display stand involves meticulous proof review and strategic visual approval. This critical checkpoint ensures your carefully designed graphics and stand configuration translate perfectly from concept to reality.
According to International Society of Nephrology, the proof review process requires systematic and thorough examination of every visual element. Carefully scrutinize digital proofs for color accuracy, graphic alignment, text clarity, and overall brand representation. Society of Tissue Viability recommends creating a detailed checklist that covers technical specifications such as resolution, color profiles, bleed areas, and compliance with event display guidelines.
During the approval process, look beyond aesthetic elements and consider how your visuals communicate your brand story. Assess whether the graphics effectively capture your companys essence and resonate with your target audience. Pay close attention to scalability potential how your designs will appear from different viewing distances and angles. Request high resolution mockups or physical proofs that simulate actual event display conditions to validate your visual strategy.
Pro Tip: Keep digital and physical copies of your approved proofs for reference during event setup and as a benchmark for future display designs.
Step 5: Inspect and Assemble Your Customised Display Stand
The moment of truth arrives when you transform your meticulously designed graphics and carefully selected materials into a fully assembled display stand. This crucial stage requires precision, patience, and a systematic approach to ensure your visual representation meets every professional standard.
According to Better Stands Initiative, the assembly process demands careful inspection of each component before final installation. Begin by laying out all stand elements and cross checking them against your original design specifications. American Kennel Club emphasizes the importance of verifying structural integrity and graphic placement before final setup. Examine each connection point, ensure all mounting hardware is present, and test the stability of modular components.
Pay special attention to the details that transform a simple structure into a compelling brand experience. Verify graphic alignment is perfect, checking that visuals are centered and free from wrinkles or misalignment. Test the structural rigidity of your stand by gently applying pressure and ensuring all joints and connections are secure. Consider the overall visual flow walk around the stand and view it from multiple angles to confirm it presents a cohesive and professional appearance from every perspective.
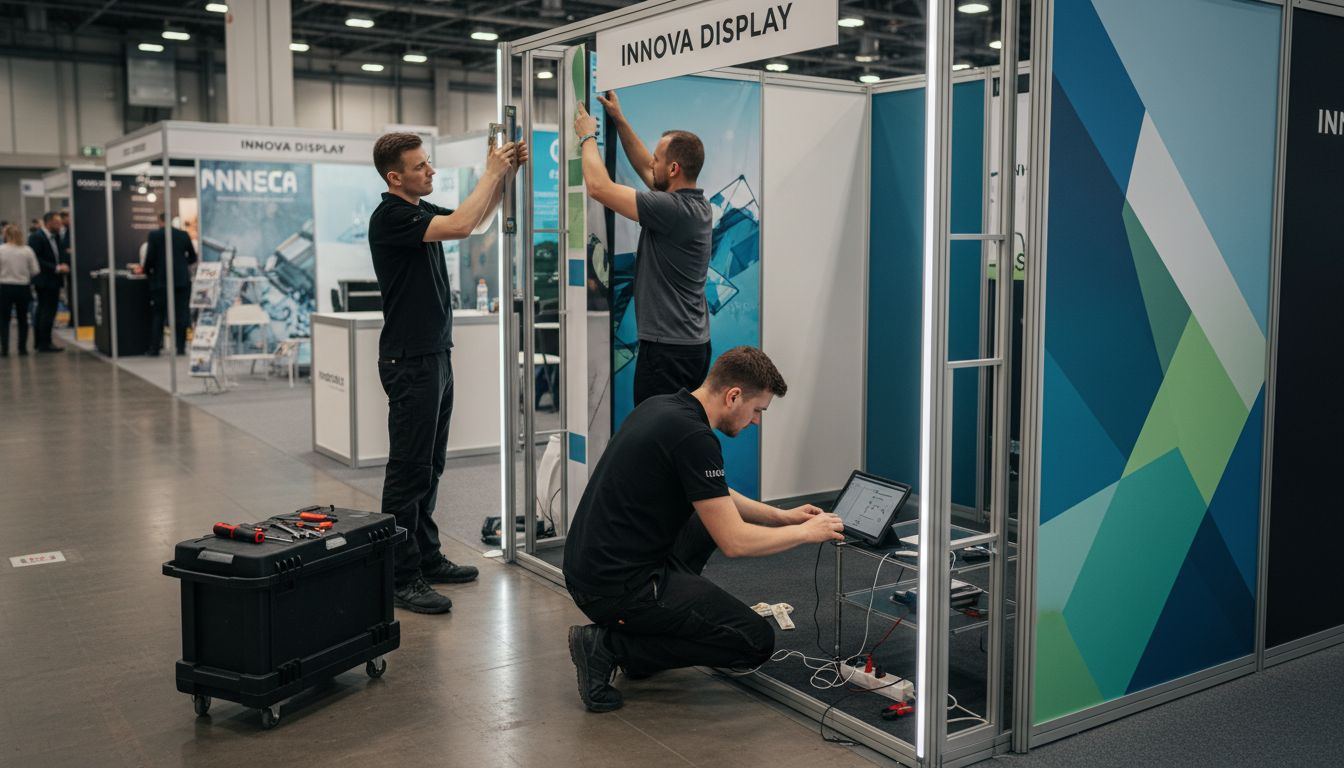
Pro Tip: Bring a basic toolkit with spare connectors, mounting tape, and a level to make quick adjustments during on site assembly and address any unexpected alignment challenges.
Elevate Your Event Presence with Custom Display Solutions
Creating a standout display stand for your event is no small task. The article highlights challenges like adhering to event guidelines, choosing the perfect materials, designing impactful graphics, and ensuring flawless assembly. These pain points often leave exhibitors frustrated and worried about missing their branding goals or failing to capture audience attention. You deserve a hassle-free solution that brings your vision to life with vivid colors and sturdy structures designed to impress.
Live Displays understands these struggles. Whether you need flexible configurations or high-impact visuals, our Roll Up Banner Stands – LIVE DISPLAYS offer easy setup and professional results. For outdoor events or larger setups, explore our durable Gazebos – LIVE DISPLAYS that combine shelter and style seamlessly. Every product is crafted with attention to quality and customization options, backed by free artwork proofs so you can be confident your brand looks just right.
Ready to transform your display stand into a powerful branding tool that commands attention? Visit https://live-displays.co.uk today to explore our full range of custom promotional products designed to solve your event challenges fast. Don’t wait until event day to settle for less. Act now and showcase your brand with confidence and impact.
Frequently Asked Questions
How do I assess the requirements for my display stand?
To assess the requirements for your display stand, begin by reviewing the event guidelines regarding dimensions and branding materials. Create a checklist of specifications and ensure your branding elements align with the event’s requirements before you begin designing.
What materials should I consider for my display stand?
Choose materials based on their functionality, durability, and how well they represent your brand. Lightweight options like aluminum frames allow for easy transport, while sturdy materials like wood can create a more professional appearance.
How do I design effective graphics for my display stand?
To design effective graphics, use high-resolution images and clear typography that resonates with your audience. Start by creating vector graphics and focus on a color scheme with strong contrast to make your stand visually striking.
What steps should I take during the proof review process?
During the proof review process, meticulously examine every visual element for color accuracy, text clarity, and overall brand representation. Utilize a checklist to ensure all technical specifications are met, and request high-resolution mockups to simulate the final display conditions.
How should I assemble my customized display stand?
Start by inspecting each component of your display stand and verify it matches your original design specifications. Assemble it methodically, checking the alignment of graphics and ensuring all connections are secure for maximum stability.
What tools should I bring for on-site assembly of the display stand?
Bring a basic toolkit that includes spare connectors, mounting tape, and a level to make quick adjustments during assembly. Being prepared with these tools will help you address any unexpected alignment challenges efficiently.
Share:
Complete Guide to the Role of Interactive Displays
Trade Show Displays: Everything You Need to Know