

Choosing the right display materials can make or break your trade show presence, yet finding products that rival the polished look of American brands is a real challenge for many UK SMEs. Strong branding at events leads to up to 33 percent higher attendee engagement, turning visibility into genuine business growth. Discover how to select, customize, and prep high-quality displays that communicate your brand’s story and command attention every time.
Table of Contents
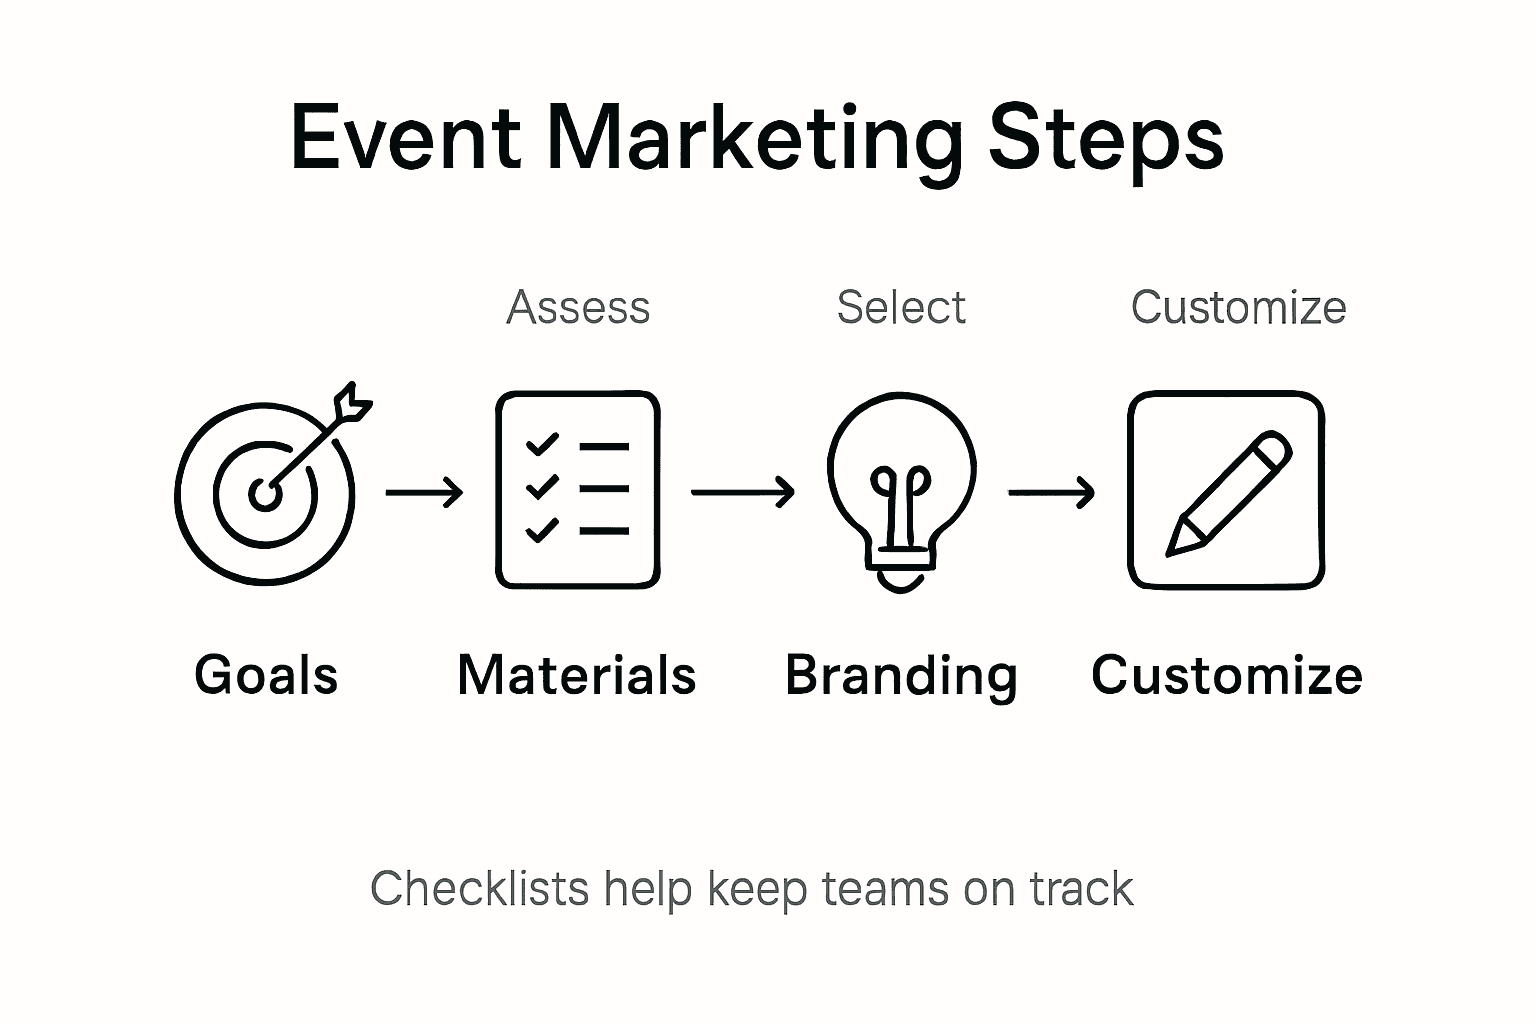
- Step 1: Assess Event Goals And Audience Needs
- Step 2: Select Display Materials For Maximum Impact
- Step 3: Customize Products To Match Brand Identity
- Step 4: Review Proofs And Confirm Final Designs
- Step 5: Inspect Materials Upon Delivery And Prep For Setup
Quick Summary
| Key Point | Explanation |
|---|---|
| 1. Define Clear Event Objectives | Specific, measurable goals guide all marketing efforts and improve engagement with target attendees. |
| 2. Conduct In-Depth Audience Research | Understanding audience personas helps tailor marketing materials to their motivations, enhancing outreach effectiveness. |
| 3. Choose Impactful Display Materials | Selecting high-quality, visually appealing materials strengthens brand identity and attracts attendees’ attention. |
| 4. Thoroughly Review Design Proofs | A systematic review of proofs ensures all materials meet quality standards, preventing potential errors at the event. |
| 5. Inspect Delivery Materials Carefully | Inspecting all items upon arrival guarantees readiness for a smooth and professional event setup. |
Step 1: Assess event goals and audience needs
Understanding your event objectives and target audience is the foundational step in creating impactful marketing materials that truly resonate with attendees. Successful event marketing begins with crystal clear goals and deep audience insights that guide every subsequent decision.
Start by defining specific, measurable objectives for your event. Are you aiming to generate leads, build brand awareness, launch a product, or create networking opportunities? Audience measurement strategies recommend breaking down your goals into precise, quantifiable targets. This might include metrics like expected attendee numbers, demographic reach, engagement levels, or potential economic impact.
To truly understand your audience, conduct comprehensive research that goes beyond basic demographics. Map out detailed audience personas including professional backgrounds, interests, pain points, and communication preferences. Analyze past event data, survey potential attendees, and review industry trends to create a nuanced picture of who you want to attract. By developing a flexible audience development plan, you can craft marketing materials that speak directly to your target participants’ motivations and expectations.
Pro tip: Create a one-page audience insights summary that your entire marketing team can reference when developing event materials to ensure consistent, targeted messaging.
Step 2: Select display materials for maximum impact
Choosing the right display materials is crucial for creating a memorable event experience that captures attendees’ attention and communicates your brand message effectively. Your selection will directly influence how potential clients perceive and engage with your brand.
Event marketing strategies emphasize the importance of creating emotional connections through sensory experiences. When selecting display materials, focus on elements that tell a compelling visual story about your brand. This means choosing high quality graphics, banners, and signage that align perfectly with your brand identity and event objectives. Consider materials that are visually striking yet professional such as tension fabric displays, retractable banners, modular booth systems, and interactive digital screens that can showcase your brand dynamically.
Carefully evaluate materials based on their ability to communicate your core message and create engaging audience interactions. The Meeting and Event Design Guide recommends prioritizing design consistency, material quality, and strategic placement to maximize visual impact. Assess each display element against criteria like visibility from different angles, durability, ease of setup, and potential for creating memorable brand impressions. Choose materials that not only look professional but also facilitate meaningful connections with your target audience.
Pro tip: Always request material samples and conduct a mock setup before the actual event to ensure your display looks exactly as you envision and functions seamlessly.
For reference, here’s a comparison of popular event display materials and their main advantages:
| Display Material | Visual Appeal | Setup Ease | Audience Interaction |
|---|---|---|---|
| Tension fabric display | Sleek, modern look | Quick assembly | Strong branding presence |
| Retractable banner | Bold, portable design | Very easy | Good information visibility |
| Modular booth system | Customizable layout | Moderate difficulty | Flexible attendee engagement |
| Digital screen | Dynamic, animated visuals | Needs power source | High interactivity potential |
Step 3: Customize products to match brand identity
Customizing your event marketing materials is a critical step in creating a cohesive and memorable brand experience that resonates with your target audience. This process goes beyond simply adding a logo it requires a strategic approach to visual and messaging alignment.

Brand marketing strategies emphasize the importance of creating marketing collateral that reflects your brand’s unique values and visual language. Start by developing a comprehensive customization blueprint that incorporates your brand’s color palette, typography, imagery style, and core messaging. This means selecting display materials like banners, tablecloths, and promotional items that not only feature your logo but also capture the essence of your brand personality. Consider how each element communicates your brand story and creates an emotional connection with event attendees.
Carefully audit each customization element against your brand guidelines. The comprehensive insights from Designing Brand Identity suggest developing a systematic approach to ensure visual consistency. This means matching color tones precisely, using approved fonts, maintaining consistent graphic treatments, and ensuring that every material feels like an integrated part of your overall brand ecosystem. Pay special attention to how different materials work together to create a unified visual narrative that reinforces your brand identity across various touchpoints.
Pro tip: Create a detailed brand customization checklist that your design team can reference to ensure every event material meets your brand standards precisely.
Step 4: Review proofs and confirm final designs
Reviewing proofs is your final quality control checkpoint before event materials go to production. This critical step ensures that every visual element and detail precisely matches your brand standards and event requirements.
Design review procedures are essential for verifying that all marketing materials meet your specifications exactly. Begin by carefully examining digital proofs with a systematic approach. Check color accuracy, graphic placement, text alignment, and brand consistency across all materials. Pay special attention to resolution, scaling, and how graphics will appear when printed or displayed. Look for potential issues like pixelation, color variations, or layout misalignments that could compromise your professional image.
Following comprehensive proof review guidelines, develop a methodical review process. Create a detailed checklist that covers every aspect of your design proof. Verify that logos are crisp, fonts are correct, and messaging is precisely aligned with your brand voice. Involve multiple team members in the review to catch potential errors or inconsistencies. Mark up any required corrections clearly and comprehensively, ensuring that your design team can implement changes quickly and accurately.
Pro tip: Create a standardized proof review template with specific checkboxes for color, typography, logo placement, and brand consistency to streamline your quality control process.
Step 5: Inspect materials upon delivery and prep for setup
Receiving and preparing your event marketing materials is a critical phase that can make or break your event presentation. This step ensures that everything arrives in perfect condition and is ready for seamless setup and display.
Meeting and Event Design Guide standards recommend a comprehensive inspection process when your materials arrive. Start by unpacking each item systematically and cross-checking against your original order. Carefully examine every component for potential shipping damages such as tears, scratches, color variations, or structural issues. Verify that all printed graphics match your approved proofs exactly and that structural elements like banners, stands, and displays are intact and functioning properly. Take detailed photographs of any damage for potential vendor communication or replacement requests.
Event safety protocols emphasize the importance of logistical preparation beyond visual inspection. Create a detailed setup staging area where you can organize materials by their intended placement and sequence. Group similar items together and prepare a setup map that outlines exactly where each display element will be positioned. Ensure you have all necessary accessories like mounting hardware, electrical connections, and support structures. Check that your team understands the setup sequence and has the right tools and equipment to install everything efficiently and safely.
Pro tip: Create a comprehensive material inspection checklist with designated spaces for tracking item condition, noting discrepancies, and confirming readiness for immediate setup.
Here’s a quick overview of key steps and their benefits when developing impactful event marketing materials:
| Step | Main Activity | Key Benefit | Business Impact |
|---|---|---|---|
| Assess goals & audience | Define objectives, research audience | Targeted messaging | Higher attendee engagement |
| Select display materials | Choose impactful display types | Strong brand visibility | Greater attendee interest |
| Customize products | Align materials to brand | Consistent identity | Enhanced brand recall |
| Review proofs | Check quality and alignment | Error-free production | Professional presentation |
| Inspect & prep materials | Verify delivery and readiness | Smooth event setup | Reduced setup issues |
Elevate Your Event Marketing Materials with Live Displays Solutions
Successfully creating impactful event marketing materials requires selecting the right displays and perfecting your brand customization. If you aim to capture your audience’s attention and ensure your brand stands out, Live Displays has you covered. From high-quality Roll Up Banner Stands to essential accessories like Lanyards, our extensive product range helps you build a cohesive and memorable presence.
Take control of your event success by browsing our carefully curated collections and customize every detail to match your brand identity. Visit Live Displays today for free artwork proofs, expert support, and vibrant display solutions designed to engage your audience and simplify your setup process. Act now to create flawless event marketing materials that boost your visibility and make a lasting impression.
Frequently Asked Questions
How can I assess my event goals effectively?
To assess your event goals effectively, define specific, measurable objectives related to your event purpose. Consider using metrics like expected attendee numbers or engagement levels to clarify your targets and follow up on them within 30 days of your event.
What display materials should I choose for my event?
Select display materials that align with your brand identity and event objectives, focusing on those that create strong visual impact. For example, consider high-quality graphics and interactive elements that enhance audience engagement throughout the event.
How do I customize my event marketing materials?
Customize your event marketing materials by developing a blueprint that incorporates your brand’s colors, fonts, and messaging. Ensure every element, from banners to promotional items, reflects your brand personality and creates a cohesive experience for attendees.
What should I check when reviewing proofs of my event materials?
When reviewing proofs, focus on color accuracy, graphic placement, and overall brand consistency. Create a detailed checklist to ensure all elements meet your specifications and catch any errors before final production.
How do I prepare for material inspection upon delivery?
Prepare for material inspection by unpacking items systematically and checking each against your original order. Organize materials in a way that makes setup easier and note any discrepancies immediately for faster resolution.
What steps should I follow to maximize setup efficiency at the event?
To maximize setup efficiency, create a detailed setup plan outlining where each display element will be placed. Ensure your team has all necessary tools and understands the setup sequence, aiming for a smooth, timely installation on the event day.
Share:
Trade Show Marketing Explained: Maximizing Event Impact
Role of Accessories in Display Success and Branding