
Did you know that over 70 percent of attendees remember brands with striking event displays long after the event ends? Standing out in a crowded exhibition hall can shape how people perceive your brand and drive real connections. Careful planning from space assessment to display checks helps you attract attention, avoid costly mistakes, and create a professional image that visitors trust.
Table of Contents
- Step 1: Assess Venue Space And Requirements
- Step 2: Select And Customize Display Products
- Step 3: Prepare Artwork And Branding Materials
- Step 4: Assemble And Position Display Components
- Step 5: Verify Display Quality And Impact
Quick Summary
| Key Point | Explanation |
|---|---|
| 1. Assess the venue’s layout first | Request a detailed floor plan to maximize your display area and visibility. |
| 2. Choose standout display products | Select items that align with your brand message and venue space for effective engagement. |
| 3. Create compelling artwork materials | Gather high-quality branding assets and ensure consistency across all marketing materials. |
| 4. Strategically position your display | Arrange components to enhance visitor flow and engagement, ensuring clear navigation paths. |
| 5. Verify quality before the event | Conduct thorough checks on display quality and positioning to maintain professional standards. |
Step 1: Assess Venue Space and Requirements
Before setting up your display at an event, you need to understand the venue’s layout and specifications. This critical step ensures your promotional setup fits perfectly and maximises your visibility.
Start by requesting a detailed floor plan from event organisers. According to the AdaCamp Toolkit, you should examine key areas like registration zones, session rooms, and potential display locations. Measure the exact dimensions of your allocated space and compare them against your display equipment dimensions. Look for electrical outlet proximity, ceiling height restrictions, and any structural limitations that might impact your setup.
Pay special attention to load in and load out procedures.
 Some venues have strict timelines and access points for exhibitors. Confirm your setup window and whether you can use trolleys or have assistance moving heavy display equipment. As FIRST recommends, always verify the venue can safely accommodate your expected equipment and team.
Pro tip: Take photographs of the space during your initial assessment. These visual references will help you plan your display layout more accurately and communicate specific requirements with your team.
Next, you will want to start selecting and preparing your specific display equipment based on these venue measurements and restrictions.
Step 2: Select and Customize Display Products
With your venue space thoroughly assessed, you are ready to choose display products that will make your brand stand out. This step involves strategic selection and thoughtful customisation to create a memorable visual presence.
According to Trade.gov, selecting display products requires careful consideration of event standards and market expectations. Begin by reviewing your brand messaging and event objectives. Consider factors like portability, visual impact, and ease of setup. Choose products that align with your space measurements from the previous assessment such as roll up banners, pop up displays, or modular exhibition stands. Each product should represent your brand professionally while fitting seamlessly into the allocated venue space.
Customisation is key to creating a unique display. Look for products that offer branding opportunities such as changeable graphics, adaptable configurations, and options for digital or printed elements. VenueScout suggests working closely with display providers who understand international event standards and can provide tailored solutions.
Pro tip: Always request a digital mockup or prototype before committing to a final design.
This allows you to visualise how your customised display will look and make necessary adjustments before the event.
Your next step will involve planning the detailed layout and design of your selected display products.
Step 3: Prepare Artwork and Branding Materials
With your display products selected, the next crucial step is crafting compelling artwork and branding materials that will capture attention and communicate your brand message effectively. This stage transforms your visual identity from concept to reality.
According to the California School Boards Association, creating engaging visuals requires strategic planning and attention to design principles. Start by gathering your core brand assets: high resolution logos, colour palettes, typography guidelines, and key messaging points. Ensure all artwork files are in vector or high resolution formats compatible with professional printing processes. Consider the specific display products you selected and adapt your designs to fit their unique dimensions and display capabilities.
The PCMA edUcon recommends developing a cohesive visual narrative that tells your brand story across different materials. This means maintaining consistent design elements whether you are creating banners, backdrop graphics, promotional handouts, or digital presentations. Pay special attention to colour contrast, readability from a distance, and how your branding will look under various lighting conditions typical of trade show environments.

Pro tip: Always request a digital proof or test print before finalising your artwork. This allows you to check colour accuracy, resolution, and overall visual impact before committing to full production.
Your next step will involve final artwork approval and production of your branding materials.
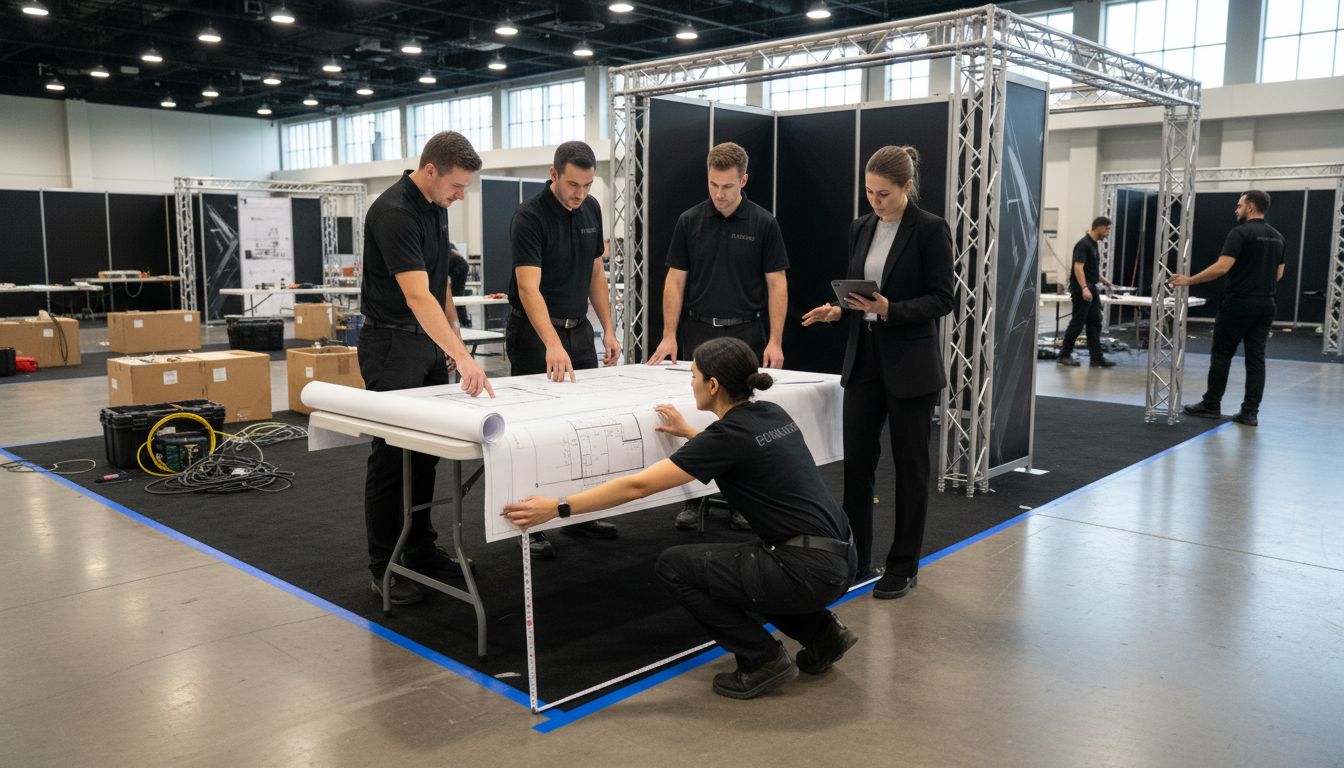
Step 4: Assemble and Position Display Components
With your artwork prepared and branding materials ready, it is time to bring your exhibition space to life by strategically assembling and positioning your display components. This crucial stage transforms your design concepts into a physical, engaging brand experience.
According to the American Ambulance Association, successful display positioning requires careful consideration of exhibit hall dynamics. Begin by laying out all your display components systematically. Start with larger structural elements like banner stands or pop up displays as your foundational pieces. Ensure each component aligns precisely with the measurements and layout you determined during your venue assessment. Pay close attention to traffic flow patterns and position your displays to maximise visibility and visitor engagement.
The California School Boards Association emphasises the importance of creating an intuitive and welcoming display configuration. Think about visitor navigation and create clear pathways through your exhibition space. Arrange your components to guide attendees naturally through your brand story. Prioritise creating open spaces that invite interaction while maintaining a professional and cohesive visual aesthetic.
Pro tip: Conduct a final walkthrough from an attendee’s perspective. This helps you identify potential obstacles or areas that might need adjustment to improve overall visitor experience.
Your next step will involve conducting final checks and preparing for event setup.
Step 5: Verify Display Quality and Impact
With your display components assembled, the final critical step is thoroughly verifying their quality, visual impact, and overall effectiveness before the event begins. This meticulous review ensures your brand presentation meets the highest professional standards.
According to the International Association of Venue Managers, assessing display quality requires a comprehensive evaluation across multiple dimensions. Start by conducting a systematic visual inspection of every display component. Check for any printing imperfections, material damages, structural integrity, and graphic alignment. Ensure your branding elements are crisp, colours are vibrant, and text remains readable from various viewing distances. Pay special attention to how lighting might interact with your materials and potentially affect visual perception.
The IAVM Certificate of Venue Management Studies recommends a methodical approach to verifying event logistics. Test interactive elements of your display, simulate visitor interactions, and critically assess how your setup guides potential customer engagement. Consider photographing your display from multiple angles to objectively evaluate its visual appeal and identify any potential improvements. Confirm that all display elements communicate a consistent, professional brand narrative.
Pro tip: Recruit an impartial colleague or mentor to provide an external perspective on your display. Fresh eyes can often spot subtle improvements you might have overlooked.
Your final step will involve making any last minute adjustments and preparing for event day.
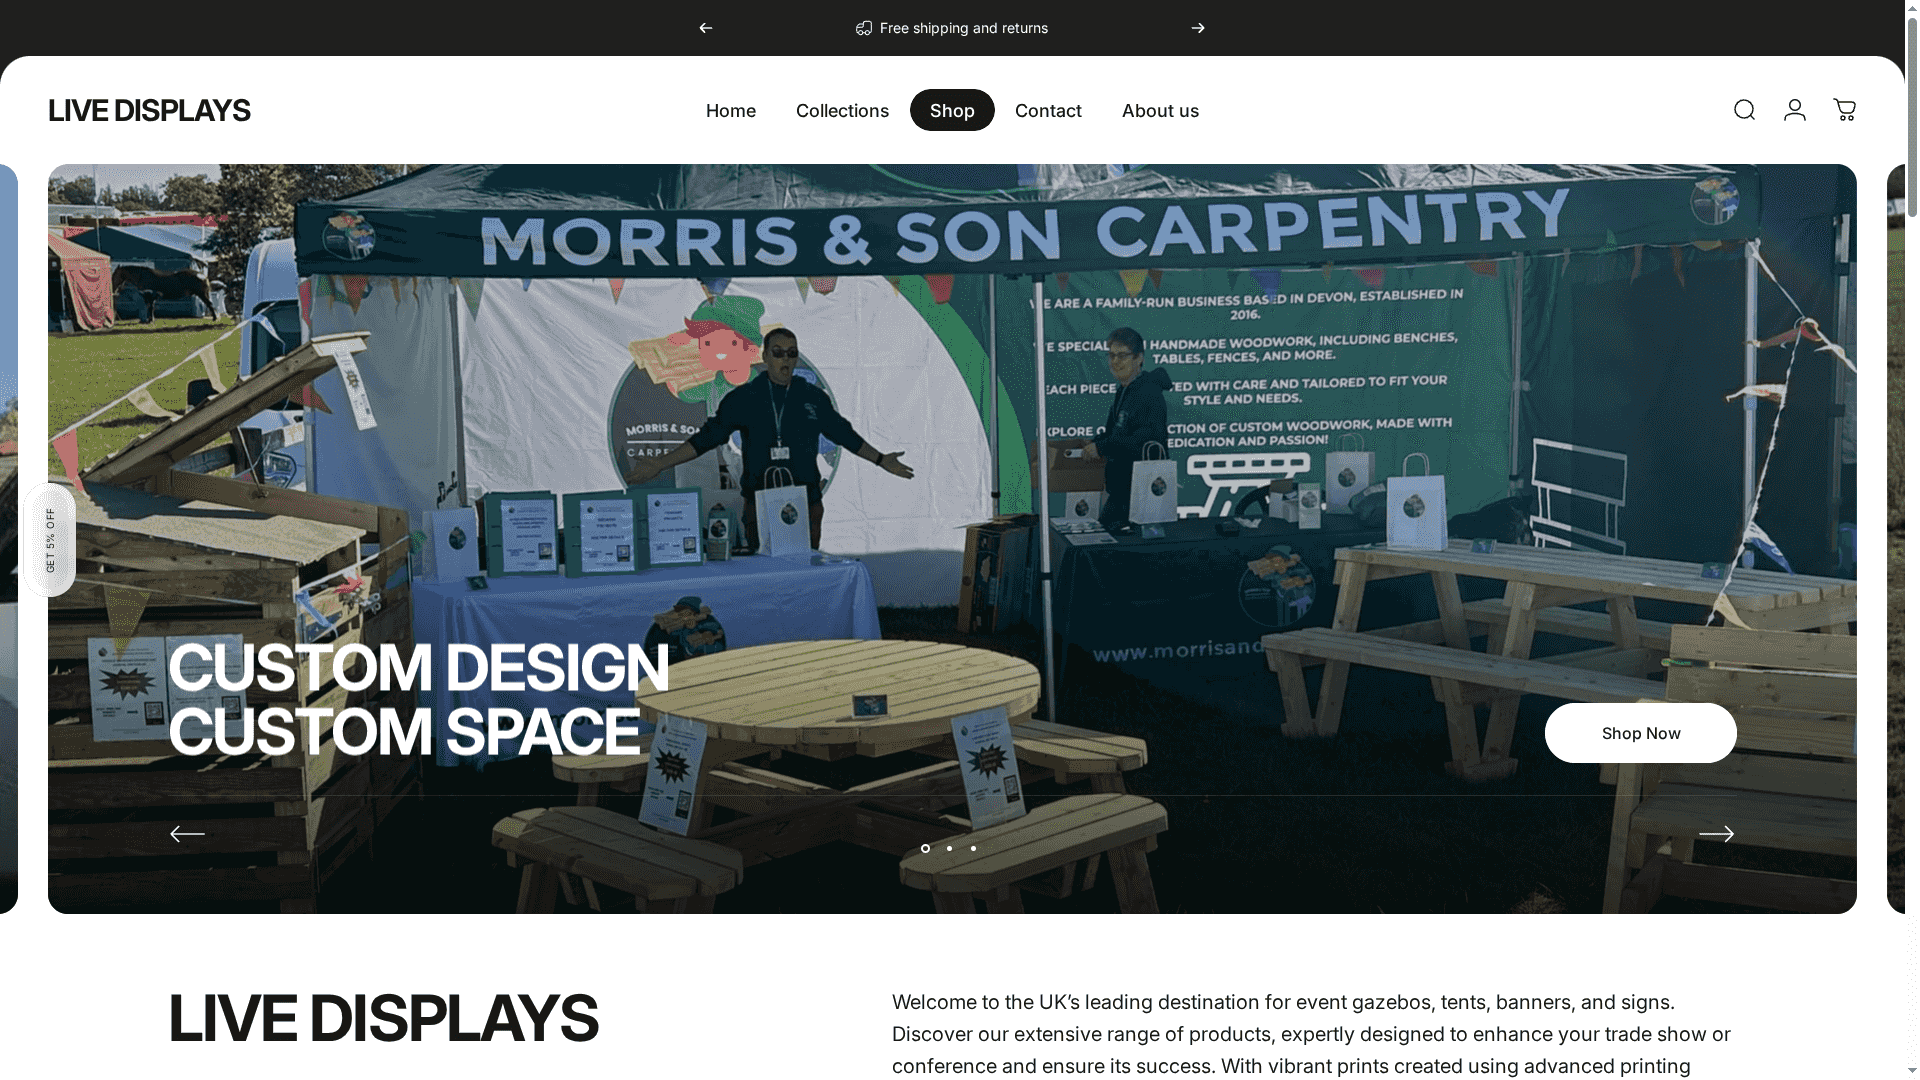
Make Your Trade Show Display Unforgettable with Live Displays
Creating a custom display setup for trade shows and events can feel overwhelming with so many details to manage such as venue space, artwork design and product selection. The key challenges highlighted include ensuring your promotional materials fit perfectly within the venue constraints, resonate visually with your audience and offer an engaging visitor experience. At the heart of your success lies choosing display products that combine impact with ease of use.
Live Displays specialises in custom display solutions designed to resolve these exact challenges. Whether you need vibrant and portable banners, durable gazebos, or cohesive branded setups we provide high quality products that help you capture attention and communicate your brand effectively. Our Roll Up Banner Stands – LIVE DISPLAYS offer ideal versatility and bold graphics to elevate your presence. For those who need to create an inviting and professional space our Gazebos – LIVE DISPLAYS give you a reliable and branded shelter solution.
Don’t let the complexities of event display setup hold you back. Explore our full collection at Live Displays and take advantage of free artwork proofs and bespoke customisation to bring your trade show vision to life. Start building a striking display today to maximise your event impact and leave a lasting impression.
Frequently Asked Questions
What should I consider when assessing venue space for my display?
Before setting up your display, examine the venue’s layout and specifications to ensure it fits well and maximizes visibility. Request a detailed floor plan, measure your allocated space, and pay attention to factors like electrical outlets and height restrictions.
How do I choose the right display products for my event?
Select display products that align with your brand messaging and event objectives. Consider options like roll-up banners or pop-up displays that match your space measurements, and ensure they are visually impactful and portable.
What are important design principles for creating effective branding materials?
Focus on strategic design principles such as color contrast, readability, and cohesive visuals that tell your brand story. Gather high-resolution logos and ensure all artwork is formatted correctly for your selected display products.
How can I position my display components to enhance visitor engagement?
Arrange your display components in a way that promotes traffic flow and encourages interaction. Begin by positioning larger structures first and create clear pathways through your exhibition space for an intuitive visitor experience.
What steps should I take to verify my display’s quality before the event?
Conduct a thorough inspection of all display components, checking for printing imperfections and structural integrity. Take photographs from various angles and assess visual appeal to identify any improvements before making necessary adjustments.
Share:
7 Essential Outdoor Display Best Practices for Events
Creating Impactful Display Visuals for Trade Show Success