
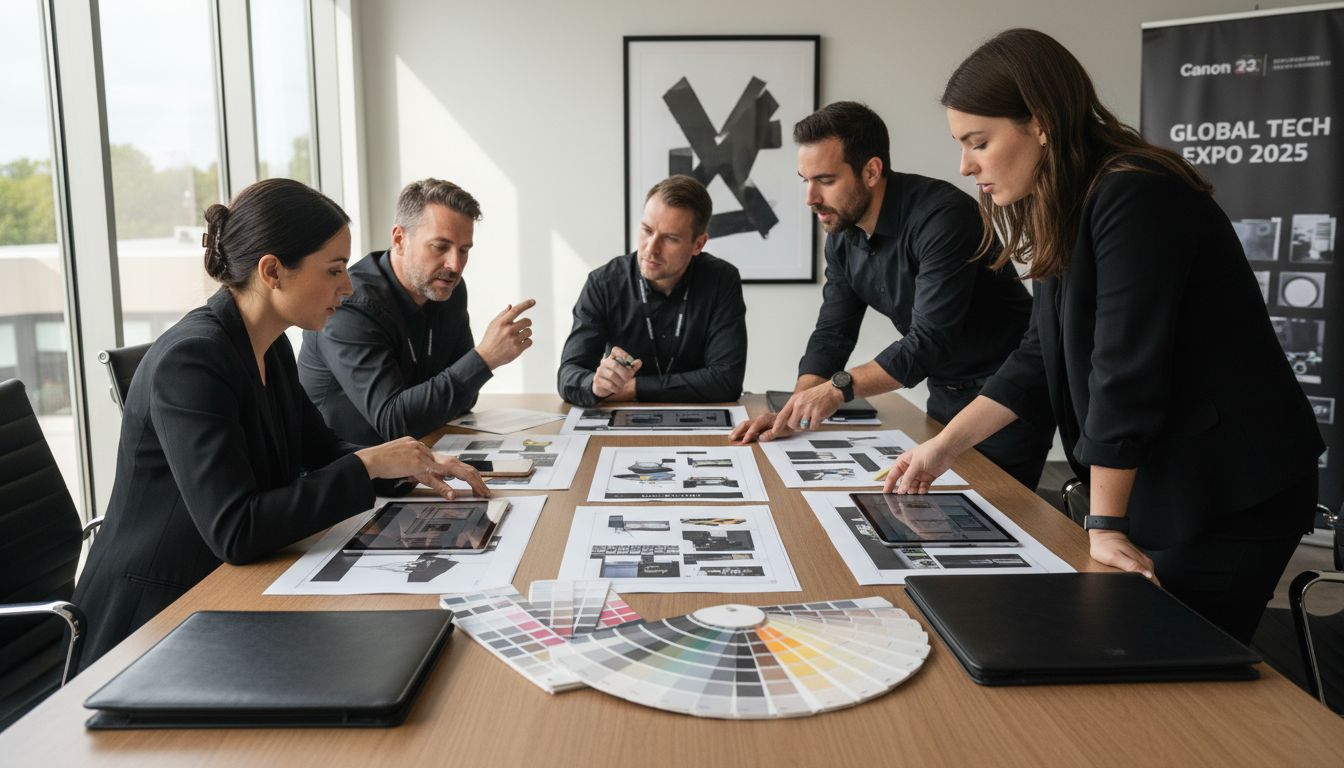
Nearly 80 percent of trade show exhibitors say their display visuals have a direct impact on event success. The right booth setup is what draws decision-makers to your space and reinforces your brand long after the event ends. Clear objectives and thoughtful planning shape every detail, from bold graphics to print quality. This guide provides practical steps that help your visuals connect with your target audience and stand out in a crowded exhibition hall.
Table of Contents
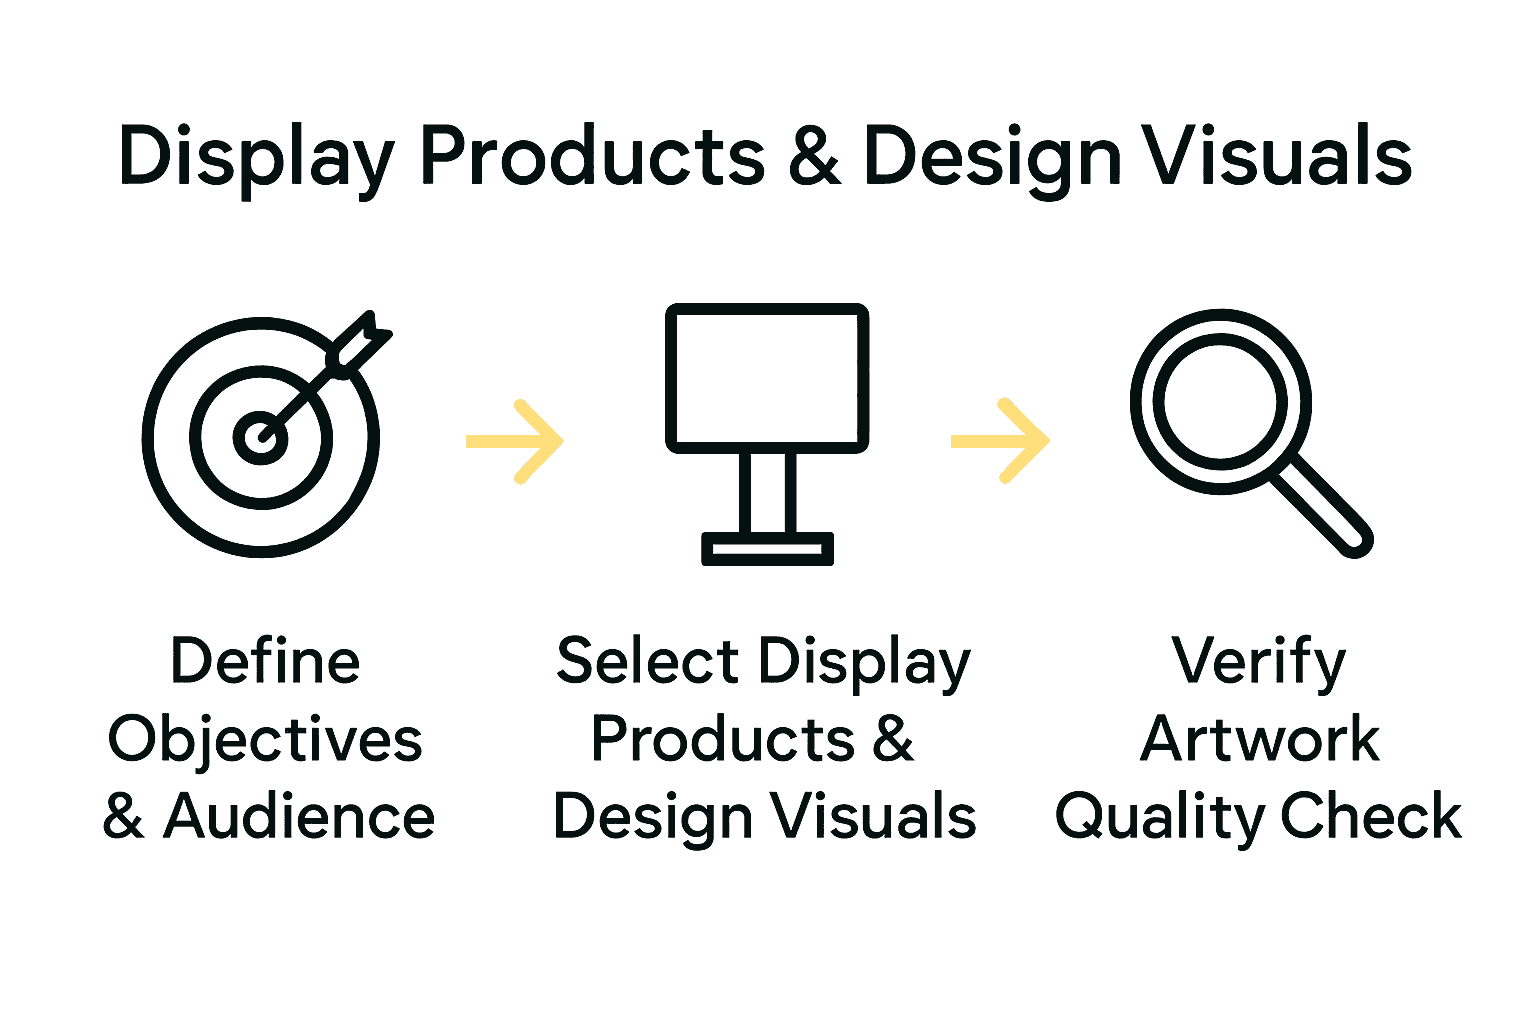
- Step 1: Define Event Objectives And Target Audience
- Step 2: Select Optimal Display Products And Sizes
- Step 3: Design Visuals To Maximize Brand Impact
- Step 4: Prepare Print-Ready Artwork Using High-Quality Assets
- Step 5: Verify Final Visuals Through Proofs And Mockups
- Step 6: Implement Quality Checks Before Event Deployment
Quick Summary
| Key Point | Explanation |
|---|---|
| 1. Define objectives and audience | Clearly outline your event goals and identify your target audience to maximize impact. |
| 2. Choose effective display products | Select displays that align with your goals, considering size and portability for optimal engagement. |
| 3. Create cohesive visual narratives | Develop compelling visuals that cohesively communicate your brand story and engage attendees. |
| 4. Verify print-ready artwork | Ensure high-quality assets in your print files to represent your brand professionally at the event. |
| 5. Conduct final quality checks | Thoroughly inspect materials and displays to prevent issues that could undermine your brand presentation. |
Step 1: Define event objectives and target audience
When creating display visuals for trade shows, your first critical step is understanding exactly why you are participating and who you want to reach. According to Knowlesti, successful events begin with a clear understanding of the event’s purpose and intended audience.
To define your objectives effectively, start by asking yourself strategic questions. What specific business goals are you hoping to achieve? Are you looking to generate leads, showcase a new product, build brand awareness, or network with potential partners? Write down 3-5 measurable outcomes that will define success for your trade show participation. In marketing terms, these objectives should be SMART: Specific, Measurable, Achievable, Relevant, and Time bound.
Identifying your target audience requires detailed research and precision. As Wikipedia explains, a target audience is a specific group of consumers within your broader market who will be most receptive to your message. Consider demographic factors like industry sector, job roles, company size, and specific professional challenges your display visuals can address. The more precisely you can define this group, the more impactful your trade show display will become.
Pro tip: Create a detailed audience persona that goes beyond basic demographics. Imagine a specific representative individual who embodies your ideal target attendee. What motivates them? What problems are they trying to solve? This approach will help you craft visuals that speak directly to their needs and interests.
By taking the time to methodically define your objectives and target audience, you set the foundation for a trade show display that will genuinely connect and create meaningful engagement.
Step 2: Select optimal display products and sizes
Now that you have defined your event objectives and target audience, the next crucial step is selecting the right display products and sizes that will effectively communicate your message and attract potential clients. Research from ArXiv highlights the strategic importance of product placement, noting that thoughtful display selection can significantly influence customer engagement and purchasing behavior.
Start by matching your display products to your specific trade show goals. If lead generation is your primary objective, consider versatile options like roll up banners, pop up displays, or modular exhibition stands that provide ample space for compelling visuals and key messaging. The size of your display should correspond directly with your booth space and marketing priorities. Larger displays work well for comprehensive brand storytelling, while more compact solutions suit targeted networking or product demonstrations.
Careful product selection requires balancing visual impact with practical considerations. According to ArXiv, product visibility plays a critical role in maximizing potential revenue and customer interaction. Consider factors like portability, ease of setup, graphic resolution capabilities, and how well the display integrates with your overall brand aesthetic. For instance, aluminium roll up banners offer lightweight mobility and professional appearance, making them excellent choices for businesses seeking flexible display solutions.
Pro tip: Always request product samples or mockups before committing to a final display. This allows you to assess material quality, graphic reproduction, and overall presentation before investing in your trade show materials.
Remember that your display is more than just a backdrop its a strategic communication tool designed to capture attention and convey your brand’s unique value proposition. Choose wisely, and your display will become a powerful ally in achieving your trade show objectives.
Step 3: Design visuals to maximize brand impact
With your event objectives and display products selected, its time to craft visuals that will truly capture attention and communicate your brand message effectively. According to Cvent, visuals are critical on a busy trade show floor, and creating a lasting impression requires consistent branding across all booth elements.
Start by developing a strategic visual narrative that tells your brand story at a glance. Your design should incorporate a cohesive color palette, typography, and graphic elements that align seamlessly with your brand identity. Use high resolution images that showcase your products or services in the most compelling light. Consider creating a visual hierarchy that guides viewers eyes naturally through your key messages, ensuring the most important information stands out immediately.
Engagement is key to making your visuals memorable. As Evenito suggests, incorporating interactive elements can significantly boost audience participation. Think about adding QR codes linked to digital content, interactive touchscreens, or visually striking infographics that invite attendees to learn more about your offerings.
Pro tip: Always conduct a design review with team members who are not directly involved in the project. Fresh eyes can catch potential visual communication gaps and ensure your message comes across clearly and powerfully.
Remember that your trade show visuals are more than just decoration they are a strategic communication tool designed to create meaningful connections with potential clients and partners.
Step 4: Prepare print-ready artwork using high-quality assets
With your visual design strategy in place, the next critical step is transforming your creative vision into print-ready artwork that will look stunning at your trade show. Understanding your audience needs is paramount in this process. As Theseus suggests, you must convert your event objectives into tangible benefits that will resonate with potential visitors.
Begin by gathering high resolution image assets that are at least 300 dpi for crisp, professional print quality. Ensure you have vector files or high resolution raster images for logos, graphics, and key visuals. Choose a professional design software like Adobe Illustrator or InDesign that supports CMYK colour mode, which is standard for print production. Pay close attention to bleed areas typically 3mm around each edge of your design to prevent white borders or cut off graphics during printing.
Precision is key when preparing print-ready files. Convert all fonts to outlines or include the original font files to prevent potential rendering issues. Check that your colour profiles are consistent and that text remains readable at different scales. Verify that all images are embedded and not just linked, which could cause problems during final production.
 Science Week emphasises the importance of understanding your target audience, which directly translates to creating visuals that will capture their attention.
Pro tip: Always request a digital proof from your printer before committing to full production. This allows you to catch and correct any potential design or technical issues before final printing.
Remember that your print-ready artwork is the final bridge between your creative concept and the physical display that will represent your brand at the trade show.
Step 5: Verify final visuals through proofs and mockups
With your artwork prepared, the crucial final stage is meticulously verifying your visual materials to ensure they will deliver maximum impact at your trade show. As Theseus emphasises, this process should be guided by converting your event objectives into tangible benefits that will resonate with potential visitors.
Request both digital and physical proofs from your printer to comprehensively assess your display materials. Digital proofs allow you to check colour accuracy, text placement, and overall design composition on screen, while physical mockups provide an authentic representation of how your visuals will appear in real world conditions. Pay close attention to colour reproduction, image sharpness, and how different design elements interact when printed. Examine the proofs under various lighting conditions to simulate the dynamic environment of a trade show floor.
Carefully review every detail against your original design brief. Science Week highlights the importance of understanding your target audience, which means ensuring your visuals communicate precisely what you intend. Check for any potential misalignments, colour variations, or text legibility issues that could diminish your brand message.
Pro tip: Involve team members who were not part of the original design process to provide fresh perspectives. They might spot potential issues you might have overlooked.
Remember that these final verification steps are your last opportunity to perfect your trade show visuals before they represent your brand in front of potential clients and partners.
Step 6: Implement quality checks before event deployment
As you approach your trade show, implementing comprehensive quality checks becomes crucial to ensure your display visuals will perform flawlessly. According to Theseus, your event objectives should be converted into specific visitor needs, which means every visual element must be meticulously evaluated.
Conduct a systematic final inspection of all display materials.
 Check each printed graphic for potential transportation damage, colour consistency, and structural integrity. Test all display mechanisms like banner stands, pop up displays, and modular components to confirm they assemble smoothly and stand securely. Verify that graphic panels align perfectly, text remains crisp and readable, and no printing imperfections are visible from standard viewing distances. Pay special attention to how your visuals will appear under different lighting conditions typical of trade show environments.
Your quality review should extend beyond visual aesthetics. Science Week emphasises understanding your target audience, which means ensuring your display communicates your intended message clearly and powerfully. Create a detailed checklist that covers graphic quality, structural soundness, brand consistency, and messaging clarity. Include team members from different departments in this review to capture perspectives you might miss.
Pro tip: Create a dedicated inspection kit with essential repair tools like clear tape, extra mounting hardware, and touch up paint to address any last minute issues during setup.
Remember that these final quality checks are your last line of defence in presenting a professional and compelling brand image at your trade show.
Transform Your Trade Show Experience with Live Displays
Creating impactful display visuals is essential for grabbing attention and making meaningful connections at your trade show. The article highlights common challenges such as choosing the right products, preparing high quality print-ready artwork, and ensuring flawless execution under pressure. These pain points can leave you feeling overwhelmed when trying to maximise your brand impact.
Live Displays specialises in providing custom display solutions that address these very challenges. Whether you need versatile roll up banner stands for clear messaging, sturdy gazebos for a commanding presence, or other promotional essentials, we offer premium quality with vibrant prints tailored to your goals.
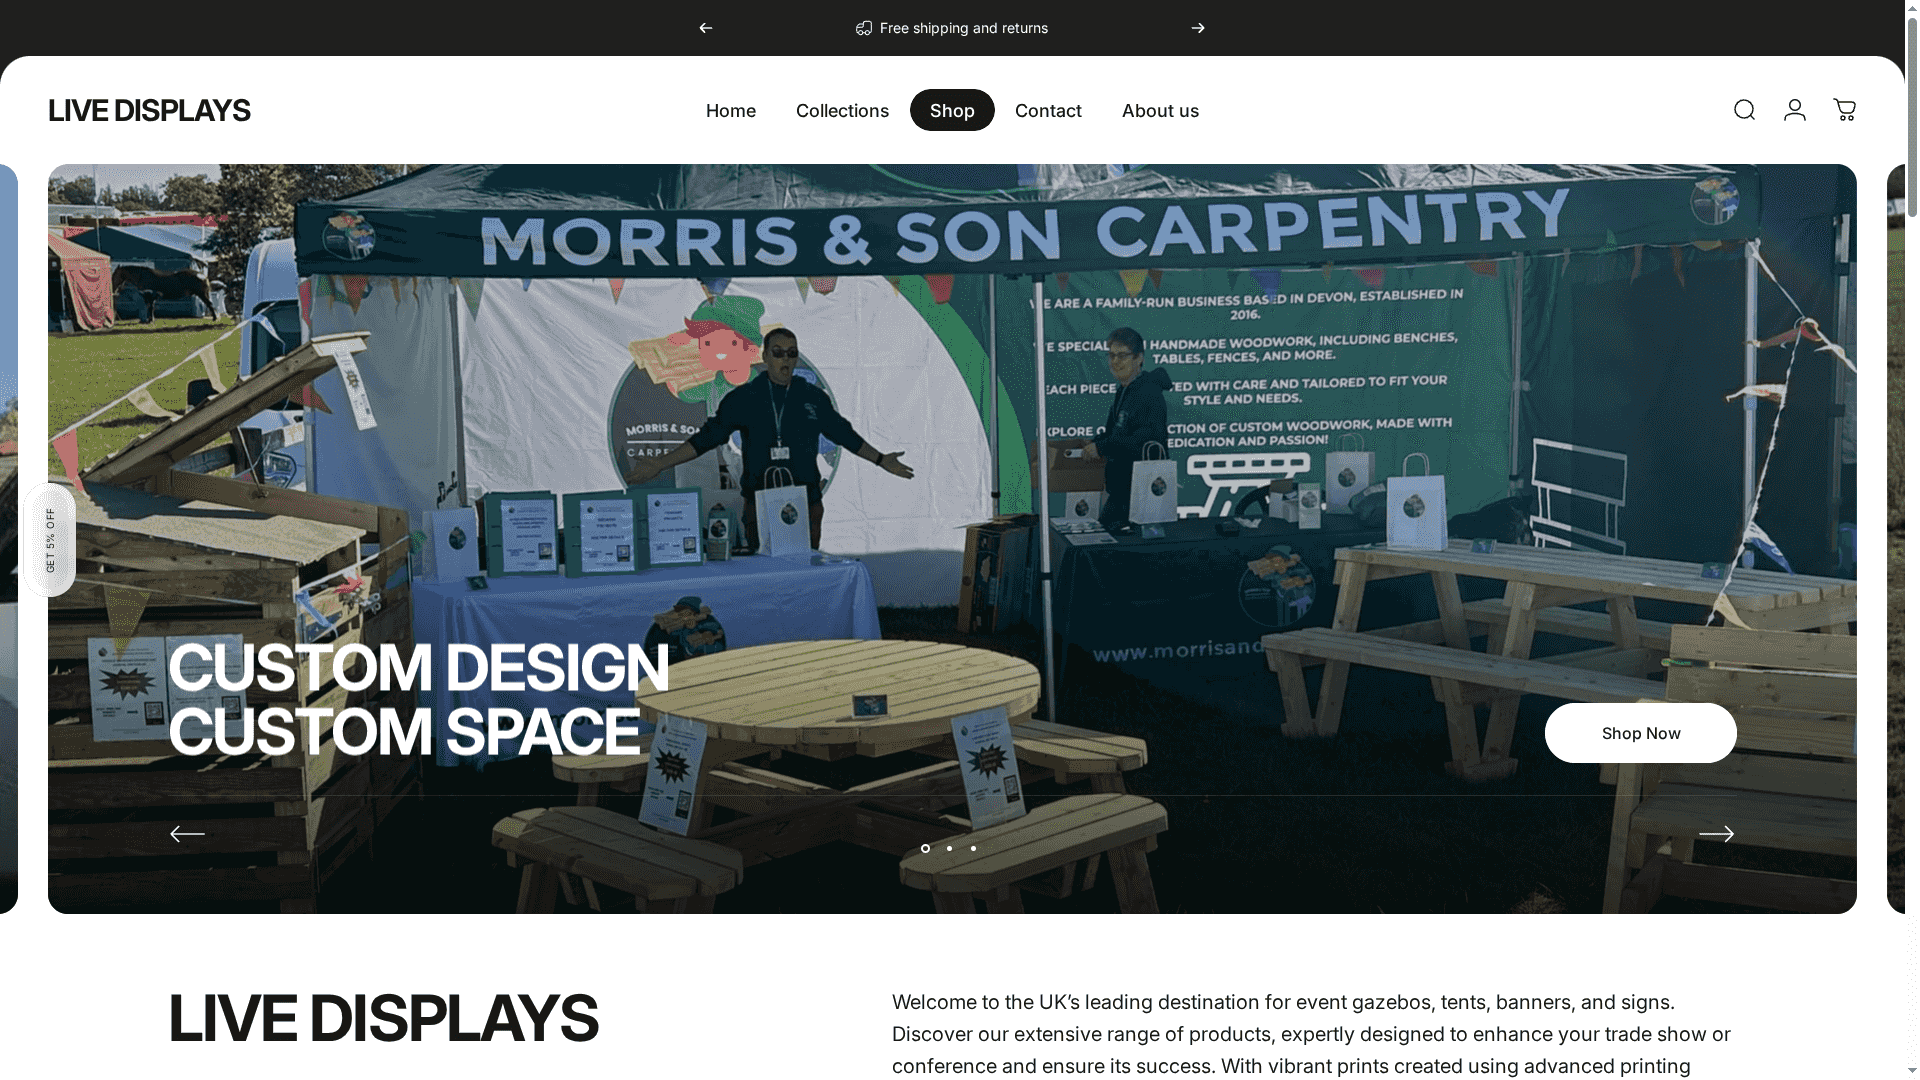
Start turning your trade show objectives into stunning visual success today. Visit Live Displays now and explore our collections designed to make your brand stand out. Take advantage of free artwork proofs and quick quotes to get your perfect display before your next big event.
Frequently Asked Questions
How can I define event objectives for my trade show display?
To define your event objectives, start by clarifying what you want to achieve, such as generating leads or increasing brand awareness. Write down 3-5 SMART outcomes to track your success and guide your display design process.
What factors should I consider when selecting display products for my trade show?
When selecting display products, consider your trade show goals and the space you have available. Choose options that maximize visual impact and match your objectives, like pop-up displays for brand storytelling or roll-up banners for lead generation.
How can I ensure my visuals effectively communicate my brand message?
To ensure your visuals communicate effectively, develop a cohesive visual narrative that includes a consistent color palette and typography. Use high-resolution images and create a clear visual hierarchy to highlight key messages, guiding viewers’ attention effectively.
What is the process for preparing print-ready artwork for my display?
Prepare print-ready artwork by gathering high-resolution assets and using design software that supports print standards. Ensure your designs consider bleed areas and convert fonts to outlines, verifying text readability before submission.
How do I verify the quality of my visuals before the trade show?
Verify the quality of your visuals by requesting both digital and physical proofs from your printer. Check for color accuracy and overall design consistency, and ensure all elements align with your original design brief before full production.
What final checks should I implement before deploying my display at the trade show?
Before deploying your display, conduct a thorough inspection of all materials for color consistency and structural integrity. Use a detailed checklist to evaluate graphic quality and messaging clarity, ensuring everything is prepared for a professional presentation.
Share:
Custom Display Setup Guide for Trade Shows and Events
Branding Impact at Trade Shows: Complete Guide