
Over seventy percent of trade show attendees in the UK say a memorable custom display influences their perception of a brand, showing the real impact of thoughtful design. With increasing competition from American exhibitors and homegrown companies, standing out on the event floor has never been more challenging. This guide gives you clear, practical steps to streamline display creation while ensuring every detail is tailored to attract more visitors and enhance your unique brand presence.
Table of Contents
- Step 1: Gather Event Requirements and Branding Assets
- Step 2: Select Display Products and Customization Options
- Step 3: Upload Artwork and Approve Proofs
- Step 4: Review and Finalize Custom Display Order
- Step 5: Verify Product Quality Upon Delivery
Quick Summary
| Key Point | Explanation |
|---|---|
| 1. Gather Event Requirements | Collect brand assets and details to align your display strategy with event objectives. |
| 2. Choose Display Products Wisely | Evaluate and select display types that match your event and audience needs for maximum impact. |
| 3. Carefully Approve Artwork | Ensure all design files meet standards to accurately represent your brand before production starts. |
| 4. Finalize Order Details | Review and confirm specifications to avoid issues ahead of your event presentation. |
| 5. Inspect Quality Upon Delivery | Verify accuracy and quality of all components to prevent potential problems during your event. |
Step 1: Gather Event Requirements and Branding Assets
Successful event displays start with comprehensive information gathering. Your goal in this initial phase is to collect all necessary details that will shape your custom display strategy and ensure alignment with your event’s core objectives.
Begin by scheduling a detailed consultation with your event stakeholders to understand their specific branding requirements. Event branding involves creating a unique identity and image that communicates your organization’s core message and visual personality. During this meeting, request critical assets including high resolution logos, color palette specifications, typography guidelines, and any existing brand style guides. Pay special attention to how these visual elements can be integrated into your display design.
Carefully document the technical specifications alongside creative requirements. This means capturing not just visual preferences but also practical details like display dimensions, target audience demographics, event environment characteristics, and specific messaging priorities. Understanding these nuanced elements will help you craft a display that not only looks professional but also strategically communicates your brand’s unique value proposition.
Pro tip: Always request digital brand asset files in multiple formats vector graphic (.ai or .eps), high resolution raster (.png or .tiff) to ensure maximum design flexibility.
Step 2: Select Display Products and Customization Options
Choosing the right display products and customization options is critical to creating a compelling event presentation that captures attention and effectively communicates your brand message. Your selections will directly impact how attendees perceive and interact with your display.
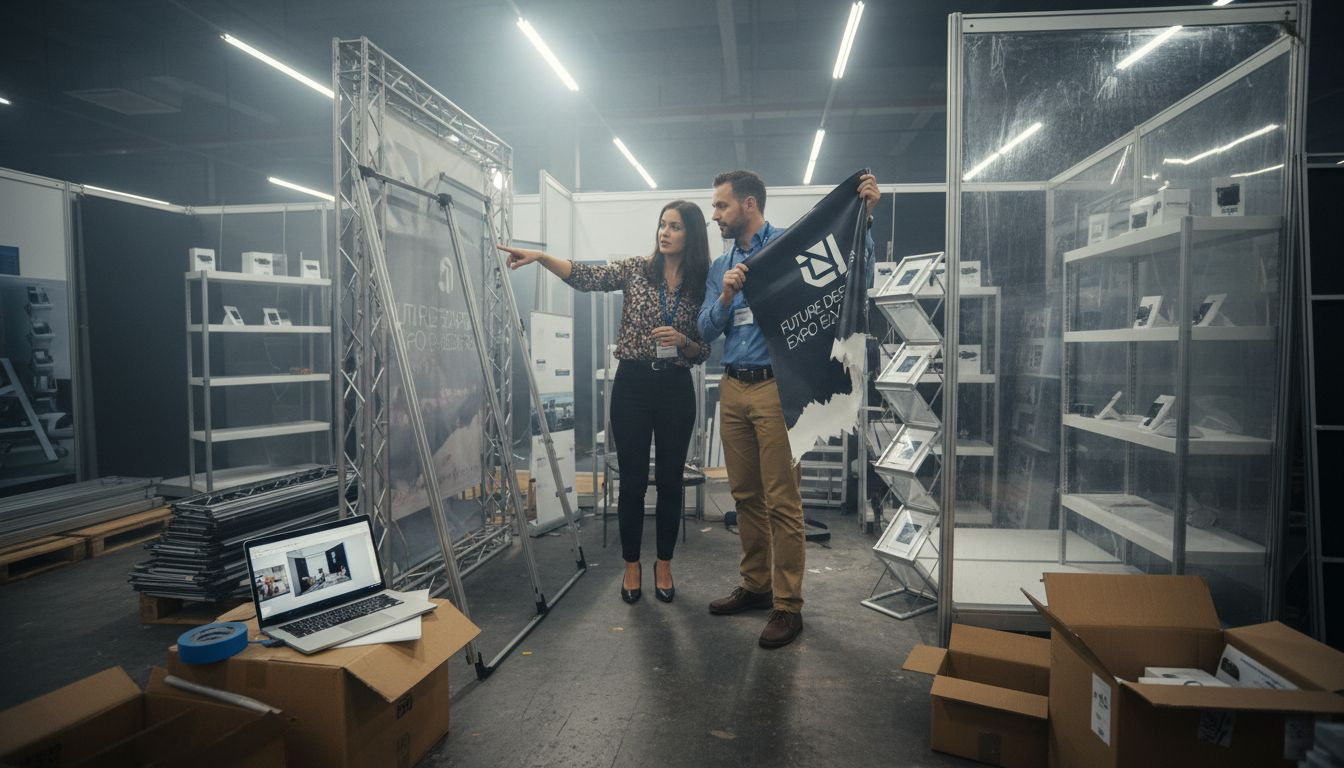
Start by evaluating your specific event requirements and matching them with appropriate display solutions. Selecting professional displays requires careful consideration of resolution, screen size, and future scalability. Consider factors like booth dimensions, audience proximity, lighting conditions, and the type of content you will showcase. For trade shows and conferences, options might include modular pop up displays, tension fabric displays, banner stands, or fully customized exhibit structures. Each product offers unique advantages potential for brand storytelling and audience engagement.
Here’s a summary of essential display products and their ideal use cases:
| Display Product Type | Best For | Key Advantage |
|---|---|---|
| Modular Pop Up Displays | Trade shows and conferences | Quick setup and reusability |
| Tension Fabric Displays | High-impact branding | Smooth graphics, modern look |
| Banner Stands | Entry areas, accents | Lightweight and portable |
| Custom Exhibit Structures | Large exhibitions | Fully personalized branding |
Once you have identified potential display products, focus on customization options that will make your brand stand out. This means selecting color schemes that match your brand palette, incorporating high quality graphics that represent your visual identity, and choosing materials and finishes that reflect your company’s professional image. Look for providers offering comprehensive customization services including printing, substrate selection, and adaptable design configurations that can be easily modified for different event contexts.
Pro tip: Request physical samples or mockups of your display design to verify color accuracy and visual impact before finalizing your production order.
Step 3: Upload Artwork and Approve Proofs
The artwork approval stage is a critical checkpoint that ensures your display design meets brand standards and event requirements. This step transforms your creative vision into a precise visual representation ready for production.
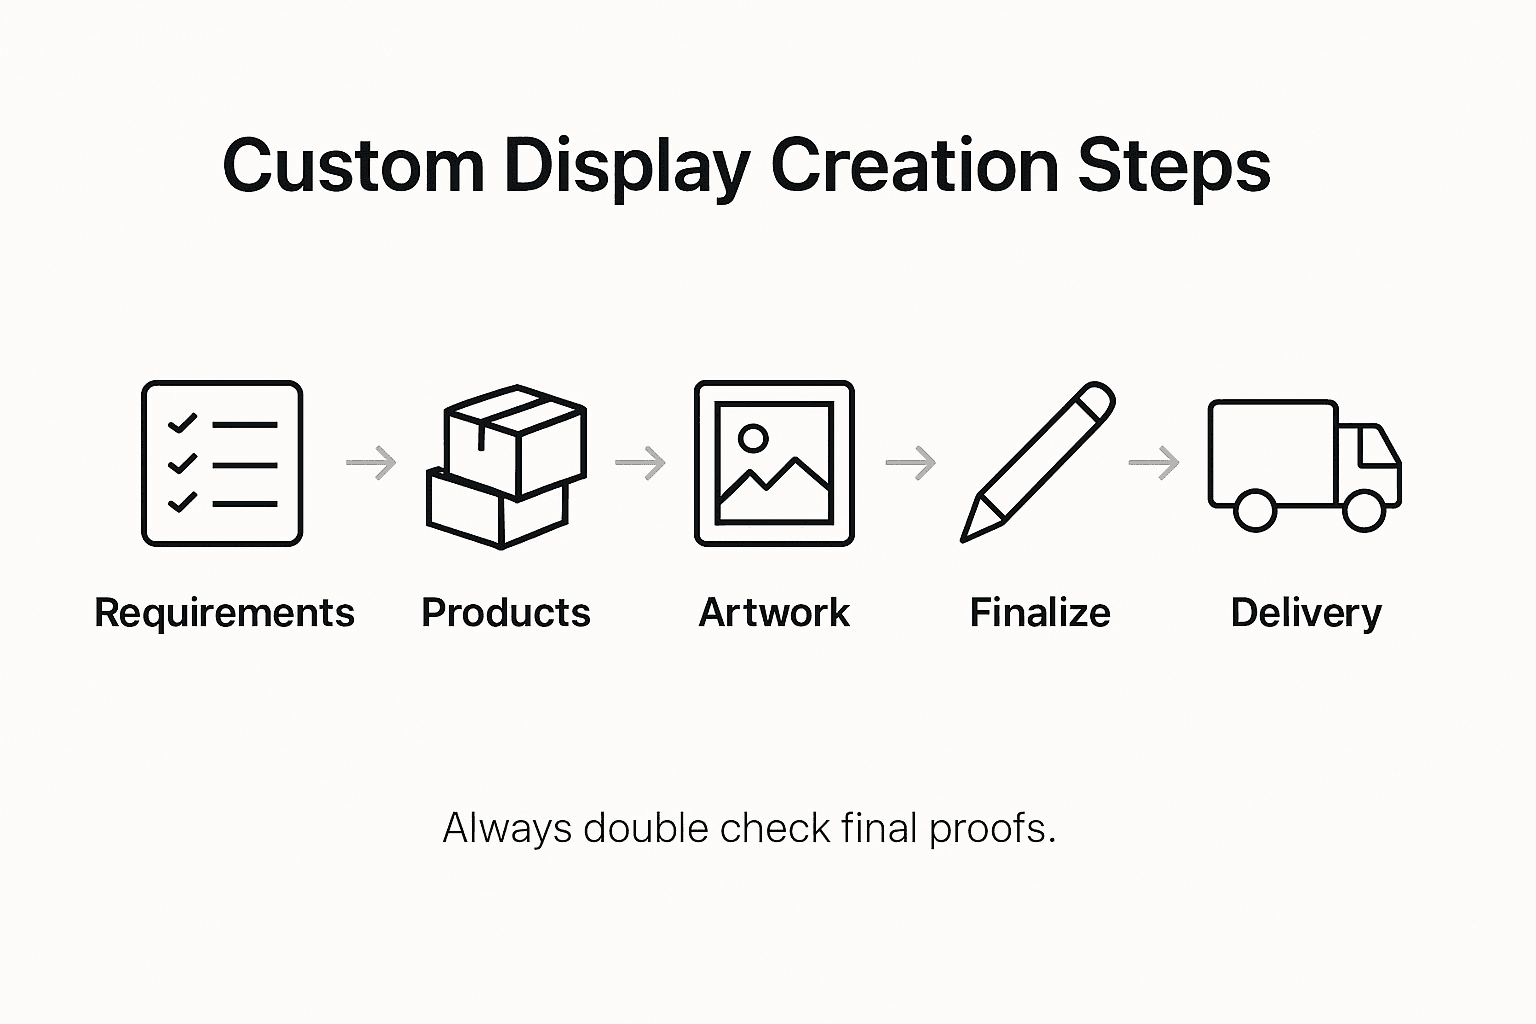
The artwork approval process involves uploading design files to a centralized platform where stakeholders can review and provide feedback. Begin by preparing high resolution digital files in the formats specified by your display provider typically vector PDF or AI files for logos and graphics. When uploading, organize your files systematically and include clear file names that indicate version number and content type. This approach helps streamline the review process and minimizes potential confusion among team members.
During the proof review, examine every detail carefully. Check color accuracy, text alignment, graphic placement, and overall visual composition. Look for potential issues like pixelation, font legibility, or unintended color shifts that could compromise your brand representation. Pay special attention to how design elements will translate across different display materials and sizes. If any adjustments are needed, provide specific feedback using clear annotations or markup tools to guide the design team.
Pro tip: Request a physical color proof or printed sample whenever possible to validate how digital designs will actually appear in your final display.
Step 4: Review and Finalize Custom Display Order
The final stage of your custom display creation process involves carefully reviewing and confirming every detail to ensure your event presentation meets your exact specifications and expectations. This critical checkpoint determines the ultimate quality and effectiveness of your display investment.
Organizers provide clear guidelines and rules for display orders to ensure continuity and compliance with regulations. Meticulously review all aspects of your order including materials, dimensions, color specifications, printing details, and overall design composition. Compare the final proof against your original branding requirements and event objectives. Check that graphic elements align perfectly, text remains legible, and color reproduction matches your brand guidelines. Verify technical specifications like display height, width, material durability, and any special mounting or installation requirements specific to your event venue.
The order finalization process is your last opportunity to make meaningful adjustments before production begins. Communicate any remaining concerns or required modifications clearly and promptly with your display provider. Request a final digital or physical proof that allows you to validate every design element. Confirm shipping details, expected delivery dates, and any additional services like installation support or transportation arrangements. Careful attention during this stage prevents potential issues and ensures your custom display will effectively represent your brand at the upcoming event.
Pro tip: Create a comprehensive checklist of your display requirements and cross reference it against the final proof to catch any potential oversights before approving the order.
Step 5: Verify Product Quality Upon Delivery
Receiving your custom display marks the culmination of your preparation and design process. This critical moment determines whether your investment will successfully represent your brand at the upcoming event and meet your performance expectations.
Incoming goods inspection involves verifying quantity and quality against precise specifications and order requirements. Start by carefully unpacking your display products systematically and checking each component against your original order documentation. Examine the display for any transportation damage, color inconsistencies, printing errors, or structural imperfections. Verify that all printed graphics match the approved proofs exactly and that materials meet the specified quality standards. Check dimensions meticulously to confirm they align with your event venue requirements and original design specifications.
If you identify any discrepancies or quality concerns during your inspection, document them immediately with clear photographic evidence. Contact your display provider promptly to discuss potential replacements or corrections. Pay special attention to structural integrity, print resolution, color accuracy, and overall finish. Assess how the display will perform under event lighting and from different viewing distances. Remember that thorough verification at this stage can prevent potential embarrassment or operational challenges during your actual event presentation.
Use this checklist to verify your custom display after delivery:
| Inspection Area | What to Check | Business Impact |
|---|---|---|
| Print Quality | No pixelation or color shifts | Upholds brand professionalism |
| Structural Integrity | Sturdy build, no transport damage | Ensures safe event setup |
| Content Accuracy | Text and logos match proofs | Prevents miscommunication |
| Dimensions | Fits venue specifications exactly | Avoids logistical issues |
Pro tip: Perform your quality inspection in a well lit area with neutral backgrounds and keep your original design proofs readily available for direct comparison.
Elevate Your Event Presence with Custom Displays from Live Displays
Planning a standout event display requires attention to every detail highlighted in the “Master the Custom Display Creation Process for Events” article. From gathering essential branding assets to verifying product quality, the challenges of coordinating design, customization, and production can feel overwhelming. Live Displays understands your need to simplify each step while delivering professional results that perfectly match your brand vision. Whether you need vibrant banners that command attention or durable flags that enhance brand visibility in any environment, Live Displays offers a seamless solution.
Start by exploring our impressive range of Roll Up Banner Stands – LIVE DISPLAYS designed for quick setup and high impact.
Experience how high-quality printing technology and easy customization options empower you to create displays that resonate with your audience. With free artwork proofs and expert support, Live Displays helps you avoid common pitfalls during the artwork approval and order finalization stages. Act now and visit Flags – LIVE DISPLAYS and our Home page – LIVE DISPLAYS to find everything you need. Take the next step toward event success at https://live-displays.co.uk by securing eye-catching, tailor-made promotional products that reflect your brand’s professionalism and ensure a memorable event experience.
Frequently Asked Questions
How do I gather event requirements for a custom display?
To gather event requirements for a custom display, schedule consultations with event stakeholders to discuss branding needs, such as logo files, color schemes, and typography guidelines. Document these assets and note technical specifications like display size, audience demographics, and messaging priorities to ensure alignment with event objectives.
What display products should I consider for my event?
Consider display products like modular pop-up displays, tension fabric displays, or custom exhibit structures based on the type of event and your specific needs. Evaluate factors like booth dimensions and audience interaction to select products that effectively showcase your brand.
What should I do during the artwork approval stage?
During the artwork approval stage, upload high-resolution design files to a centralized platform for review by your team. Make sure to check color accuracy, text alignment, and graphic placement, and use annotation tools for clear feedback to ensure your display meets brand standards.
How can I finalize my custom display order successfully?
To finalize your custom display order, meticulously review all details, including material specifications and colors, against your initial requirements. Confirm all technical aspects, request a final proof, and communicate any adjustments clearly to ensure your display is ready for production.
How do I verify product quality upon delivery of my display?
Upon delivery of your display, unpack and inspect each component, checking for damages and ensuring everything matches your order documentation. Document any discrepancies immediately with photos, and contact your provider promptly if you find quality issues to initiate corrections.
Share:
Role of Accessories in Display Success and Branding
Role of Visuals in Trade Shows: Boosting Brand Impact